
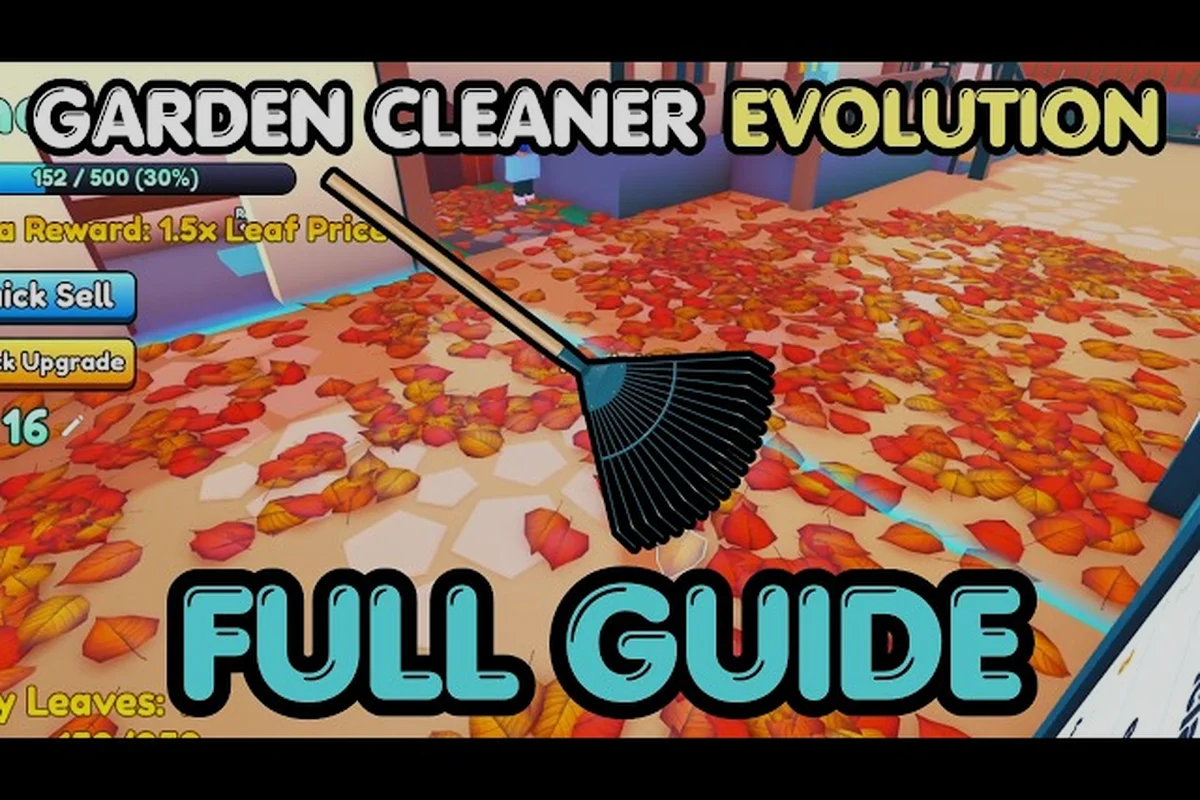
Starting your Garden Cleaner Evolution journey can feel overwhelming. With multiple zones, countless upgrades, and a rebirth system that reshapes your entire progression, knowing the best route through the game saves you hours of wasted effort. This comprehensive walkthrough maps out the most efficient path from your first leaf pile to becoming a seasoned garden restoration expert.
The core loop is straightforward: sweep leaves, sell them for currency, upgrade your tools, and unlock new zones. However, the order in which you tackle these elements dramatically impacts how quickly you progress. A poorly planned approach leaves you grinding the same zones while missing easier gains elsewhere. This tutorial cuts through the confusion and gives you a clear strategy that works whether you're on your first run or preparing for your tenth rebirth.
Early Game Priorities and First Steps
Your first session in Garden Cleaner Evolution sets the foundation for everything that follows. Understanding what to prioritize immediately determines how smoothly your progression flows. Many new players waste their early currency on flashy upgrades that don't deliver proportional returns, forcing them to backtrack and regrind.
Initial Zone Selection
Begin in the starting garden area where leaf piles spawn most densely. This zone introduces the fundamental sweeping mechanic without overwhelming complexity. Focus entirely on gathering as many leaves as possible during this phase, resisting the temptation to explore other areas prematurely.
-
Stay in the starting zone until you accumulate enough currency to purchase your first meaningful tool upgrade
-
Ignore locked zones initially; their unlock requirements demand resources better spent elsewhere
-
Practice the sweeping rhythm to maximize your collection speed before advancing
First Upgrade Purchase
The moment you gather around 500-700 currency units, purchase your initial tool upgrade. According to the Garden Cleaner Evolution Tools Tier List, your starting tool falls into the lower C-D tier ranking. Moving to at least a B-tier broom immediately doubles your clearing speed, making every sweep significantly more productive.
| Currency Threshold | Recommended Action | Expected Outcome |
|---|---|---|
| 0-500 | Gather freely, no purchases | Learn mechanics |
| 500-700 | Buy first B-tier upgrade | Speed boost begins |
| 700-1500 | Continue gathering, save currency | Prepare for major purchase |
| 1500+ | Consider A-tier or zone unlock | Major progression unlock |
Understanding Your Capacity
Every tool has a collection capacity that limits how many leaves you can hold before needing to sell. Checking your capacity meter frequently prevents unexpected stops mid-session. When you're approaching capacity, head to the nearest sell point rather than risk losing potential earnings.
Optimal Zone Clearing Sequence
Not all zones are created equal in Garden Cleaner Evolution. Each area offers different leaf densities, sell values, and unlock requirements. Following the optimal zone sequence ensures you always face the right challenge level for your current tool power.
Zone Unlock Requirements
| Zone Name | Unlock Cost | Leaf Density | Currency Value | Best For |
|---|---|---|---|---|
| Starting Garden | Free | Medium | Low | Beginners |
| Backyard Extension | 500 | Medium-High | Medium | First upgrade |
| Side Yard | 1,200 | High | Medium-High | Mid-tier farming |
| Shed Area | 2,500 | Very High | High | Advanced grinding |
| Secret Garden | 5,000+ | Extreme | Very High | End-game focus |
The Golden Rule: Difficulty Matching
Never enter a zone significantly above your tool's capability. A common mistake is rushing to unlock high-value zones before having the capacity to clear them efficiently. The Secret Garden promises incredible returns, but attempting it with a basic broom results in agonizingly slow clearing that还不如 staying in easier zones.
The ideal approach matches your tool tier to zone difficulty:
-
C-tier and below: Starting Garden and Backyard Extension
-
B-tier: Side Yard and early Shed Area
-
A-tier: Full Shed Area access and Secret Garden entry
-
S-tier: Efficiently farm all zones, including Secret Garden
Currency Farming and Upgrade Strategy
Currency serves two critical functions in Garden Cleaner Evolution: unlocking zones and purchasing tool upgrades. Understanding how to balance these investments separates efficient players from those who plateau early.
Investment Priority Framework
| Priority Level | Investment Type | Percentage of Earnings | Rationale |
|---|---|---|---|
| 1 (Highest) | Tool upgrades | 40-50% | Permanent speed boost |
| 2 | Zone unlocks | 30-40% | Access to better farming |
| 3 | Capacity upgrades | 10-20% | Convenience, not necessity |
| 4 | Cosmetics | 0-10% | Personal preference only |
Rebirth System Fundamentals
The Garden Cleaner Evolution Rebirth Requirements documentation reveals that rebirth unlocks permanent bonuses that persist across runs. These bonuses compound with each rebirth cycle, making early runs sacrifice short-term gains for long-term acceleration.
Key rebirth considerations:
-
Rebirth currency requirements scale with your total earnings
-
Permanent bonuses include clearing speed multipliers and capacity increases
-
World access resets completely, but your tools retain incremental improvements
-
The optimal rebirth timing arrives when your progress rate significantly slows
When to Rebirth
Timing your rebirth correctly maximizes the benefit of permanent bonuses. Rebirth too early, and you forfeit substantial accumulated currency. Rebirth too late, and you've already extracted most value from your current run.
Consider rebirth when you notice your earnings dropping below 50% of peak performance, you've unlocked most accessible zones, or the next tool upgrade requires an unreasonable grind time.
Tool Selection for Maximum Efficiency
Tools define your entire gameplay experience in Garden Cleaner Evolution. Each broom, brush, and specialized cleaner operates at different speeds, collection ranges, and price points. Making informed tool decisions prevents wasting currency on dead-end upgrades.
Tier System Explained
| Tier Ranking | Characteristics | Cost Range | Recommendation |
|---|---|---|---|
| S Tier | Best available speed, highest capacity | 15,000+ | Target for rebirth cycles |
| A Tier | Excellent speed, good capacity | 5,000-15,000 | Mid-to-late game priority |
| B Tier | Decent improvement over base | 1,500-5,000 | Early-to-mid game staple |
| C Tier | Marginal improvements | 500-1,500 | Cheap stepping stones |
| D Tier | Low value, expensive for what you get | Variable | Avoid entirely |
Practical Tool Upgrade Order
Rather than saving indefinitely for an S-tier purchase, follow a progressive upgrade path that provides steady improvements:
-
First upgrade: Move from starter tool to any B-tier option
-
Second upgrade: B-tier to A-tier when you can afford it without straining
-
Third upgrade: A-tier to S-tier as your primary long-term goal
Each transition provides a visible speed increase that makes grinding feel less tedious. The psychological benefit of regular upgrades keeps motivation high compared to saving for one massive purchase.
For a detailed breakdown of specific tool rankings and recommendations, visit the official Garden Cleaner Evolution Tools Tier List on the community wiki.
Garden Cleaner Evolution Walkthrough: Step-by-Step Session Guide
Transforming theoretical knowledge into practical action requires a concrete session structure. This walkthrough provides a repeatable framework you can follow every time you log into Garden Cleaner Evolution.
Pre-Session Checklist
Before beginning any session, confirm your current status:
-
Check currency balance and upcoming upgrade costs
-
Review unlocked zones and identify your best farming location
-
Note rebirth status and progress toward the next bonus tier
-
Verify tool condition and upcoming upgrade possibilities
Ideal Session Structure
| Phase | Duration | Focus | Goal |
|---|---|---|---|
| Warm-up | 5 minutes | Medium-intensity clearing | Reacquaint with mechanics |
| Core farming | 20-30 minutes | High-intensity clearing | Maximize currency collection |
| Selling | 5 minutes | Sell all collected leaves | Convert to usable currency |
| Investment | 5-10 minutes | Tool upgrades, zone unlocks | Improve future efficiency |
| Cool-down | 5 minutes | Light clearing | End on productive note |
Zone Rotation Strategy
Experienced players develop a zone rotation habit that prevents monotony while maintaining efficiency. Rather than grinding a single zone until exhaustion, cycle between two or three areas:
-
Rotate when leaf density noticeably drops
-
Switch zones if clearing speed feels sluggish
-
Return to previous zones after tool upgrades
This approach maintains engagement while optimizing your overall earnings per hour.
Post-Rebirth Progression Path
After completing your first rebirth, the game transforms significantly. Your permanent bonuses stack with each cycle, and the early-game struggle fades into a more relaxed progression. However, understanding the post-rebirth priority order ensures you capitalize on every advantage.
Immediate Post-Rebirth Actions
The Garden Cleaner Evolution Rebirth Requirements emphasize three post-rebirth priorities:
-
Restore clearing speed to pre-rebirth levels using permanent bonuses
-
Increase collection capacity to handle denser leaf spawns
-
Reopen the next zone to access higher-value farming areas
Compounding Returns
Each rebirth multiplies your permanent bonuses. A player completing their fifth rebirth clears zones roughly 30-40% faster than their first run, even with identical tools. This compounding effect makes every rebirth progressively easier than the last.
Long-Term Progression Tracking
| Rebirth Number | Expected Clear Speed | Recommended Zone | Daily Play Goal |
|---|---|---|---|
| 1st (Post-tutorial) | Baseline | Starting Garden+1 | Unlock 2 zones |
| 2nd-3rd | +15% | Side Yard+ | Tool to A-tier |
| 4th-5th | +30% | Shed Area | Tool to S-tier |
| 6th+ | +50%+ | Secret Garden | Cosmetic focus |
Before diving into your next session, remember these critical principles:
-
Match tool tier to zone difficulty for optimal efficiency
-
Prioritize permanent upgrades over cosmetic purchases early on
-
Time your rebirths when progress noticeably slows
-
Rotate zones regularly to maintain high leaf density
-
Check your capacity meter frequently to avoid missed earnings
For additional strategies and detailed mechanics explanations, explore the Garden Cleaner Evolution community wiki or watch the full walkthrough gameplay on YouTube.
If you're new to the game, consider starting with our beginner's guide for foundational knowledge. For players seeking to refine their selling strategy, our sell guide covers optimal currency conversion techniques.
Frequently Asked Questions
What is the fastest way to progress in Garden Cleaner Evolution?
The fastest progression comes from balancing tool upgrades with zone unlocks while timing your rebirths strategically. Focus on reaching A-tier tools before committing to major zone unlocks, and rebirth when your earnings drop significantly below peak levels.Understanding this detail helps you make informed decisions about your Garden Cleaner Evolution
How often should I rebirth in Garden Cleaner Evolution?
Rebirth whenever your progress rate slows to approximately 50% of your peak earning speed, or when the next tool upgrade requires an unreasonable grind time. Early rebirths sacrifice short-term currency for permanent speed bonuses that compound over time.This timing directly impacts your overall progression strategy in Garden Cleaner Evolution,
Which zones give the best currency per hour in Garden Cleaner Evolution?
The Secret Garden offers the highest currency returns per hour, but requires S-tier tools to clear efficiently. For players without S-tier equipment, the Shed Area provides excellent returns relative to its difficulty requirements. This is particularly important in Garden Cleaner Evolution because the core progression loop ties every mechanic together, and understanding this aspect helps
Should I upgrade tools or unlock zones first in Garden Cleaner Evolution?
Upgrade tools first. A better tool improves every zone you can already access, while zone unlocks only benefit if you have the tool power to clear them efficiently. Prioritize reaching B-tier before spending on zone unlocks.Understanding this detail helps you make informed decisions about your Garden Cleaner Evolution progression, because